GPP2: March 2025
Accessing and Using the Python Notebook
This document provides instructions for executing the post-Jekyll notebook on existing Jekyll datasets. The notebook is accessible online, so no prerequisite installations are required. Additionally, these notebooks are supported and made available to run on remote computational resources through the Cybershuttle (https://cybershuttle.org/).
Cybershuttle expertly balances local and remote computing, seamlessly orchestrating tasks and data between machines. It enables users to schedule time-sensitive, small tasks locally while reserving compute-intensive tasks for powerful remote HPC resources, ensuring transparent data accessibility. This approach significantly enhances the efficiency of scientific workflows compared to fully remote or fully local operations.
Login and Create an Account
- Navigate to https://vlab.plasmascience.scigap.or
- Click Notebooks from the top menu.

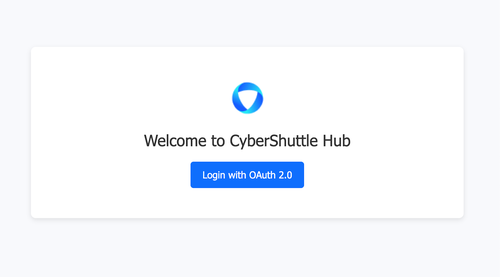
3. Sign in to the Cybershuttle Hub with your institutional credentials.
- Select your institute and proceed.
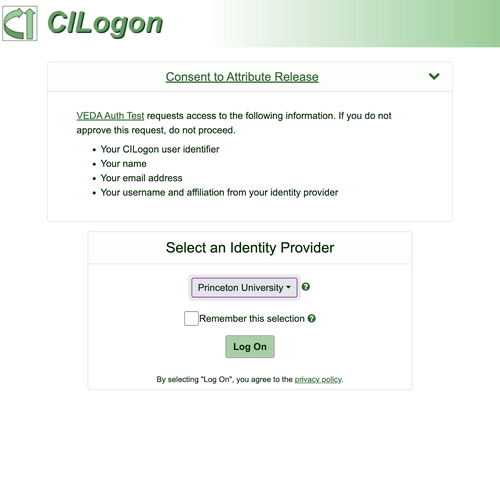
- Wait for confirmation from Dr. Juno that your account was activated. Do not proceed until your account has been activated!
Using the Notebook
The following instructions will not work until Dr. Juno has told you that your account has been activated.
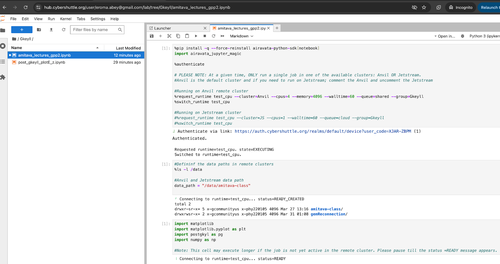
- Login to the VLab Notebook as described above. The Notebook interface will appear.
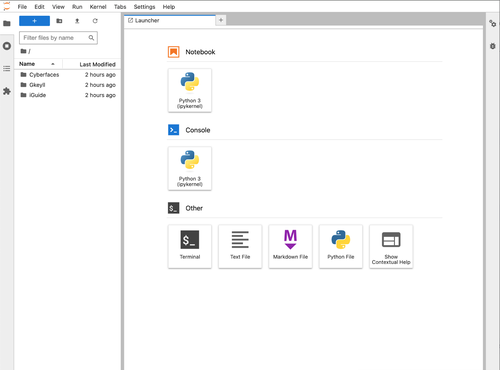
- Select ‘Gkeyll’ from the left panel.
- Double click on the notebook “plotE_z.ipynb”
- Execute cell by cell in the order provided.

- The first cell will provide a link that must be clicked to authorize the sharing of user information.

- Click the link, and a new window will open.
- Close the new window and navigate back to the notebook
- Execute the remaining cells.
Important Notebook Information
- Each user has their own instance of the Notebook interface.
- Notebooks can be altered, and the results of each cell will be saved unless the user clears them.
- Once the cells are cleared and the kernel restarted, all previous run results will be gone.
- If you need to restart the kernel, first run the final cell in the notebook to terminate the current job (an allocation of the compute resources on the remote HPC system).
- If any plot results, etc, need to be saved, please copy them to the local machine/document.
- Closing the web browser tab/window:
- Will not clear the changes made to their notebook.
- Will not cancel the underlying allocation on the high performance computing system. Please run the last cell when you are done working with the notebook.
- After 60 minutes the allocation on the high performance computing system ends and the first cell will need to be executed again.
- To copy-paste from a Notebook cell use use shift+right_click to open the web-browser's menu instead of the Notebook menu.
- For more information on the Notebook interface please refer to https://docs.jupyter.org/en/latest/index.html