NASA Heliophysics Summer School: August 2025
Cybershuttle User Instructions for Plasma VLab Community
Version: 2.0
Date: July 2025
Contact: ARTISAN@groups.gatech.edu
Table of Contents
- Instructions
- What is Cybershuttle
- New User Account Creation
- Locate & Execute Catalog Entries
- Other Features
- CyberShuttle FAQ
- Events Page
- Contact Us
Instructions
This document provides instructions for executing the postgkyl notebook on existing Gkeyll datasets. The notebook is accessible online, so no prerequisite software installations are required. Additionally, these notebooks are supported and made available to run on remote computational resources through the Cybershuttle.
Cybershuttle expertly balances local and remote computing, seamlessly orchestrating tasks and data between machines. It enables users to schedule time-sensitive, small tasks locally while reserving compute-intensive tasks for powerful remote HPC resources, ensuring transparent and data accessibility. This approach significantly enhances the efficiency of scientific workflows compared to fully remote or fully local operations.
What is Cybershuttle
CyberShuttle is a comprehensive cyberinfrastructure platform designed to unify scientific workflows, datasets, codebases, and interactive tools like Jupyter notebooks and VS Code into a seamless, reproducible computing environment. It enables end-to-end execution across multiple compute backends from cloud (e.g. AWS) to high-performance systems (e.g. Jetstream2 or Delta) while allowing users to configure, manage, and iterate on runtime environments over time.
CyberShuttle supports both exploratory data analysis and code development, and encourages sharing of workflows and scientific code with the broader research community, all while maintaining consistency and reproducibility in research execution.
Reference: Cybershuttle Paper
New User Account Creation
Step 1: Access the Platform
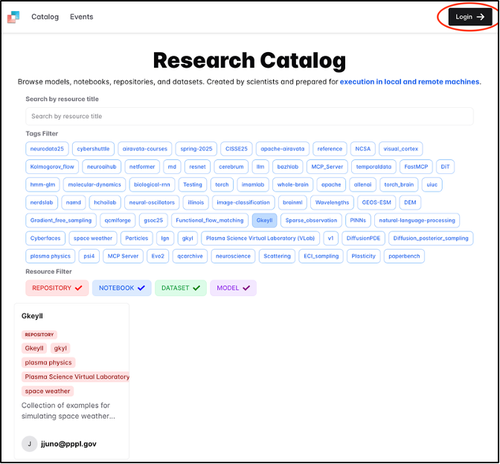
Access Notebooks from the top right corner of https://vlab.plasmascience.scigap.org/

Step 2: Login
Click the 'Login' button in the top right corner.
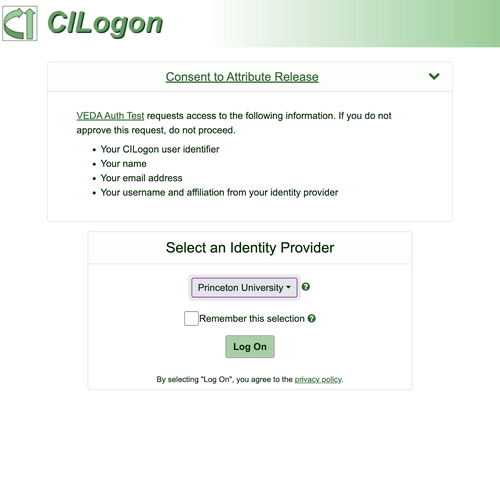
Step 3: Select Institution
Select your institution from the CILogon page.
Note: When signing in with CILogon, it is recommended to select your educational institution from the list of Identity Providers for the best integration and access.
Step 4: Navigate to Catalog
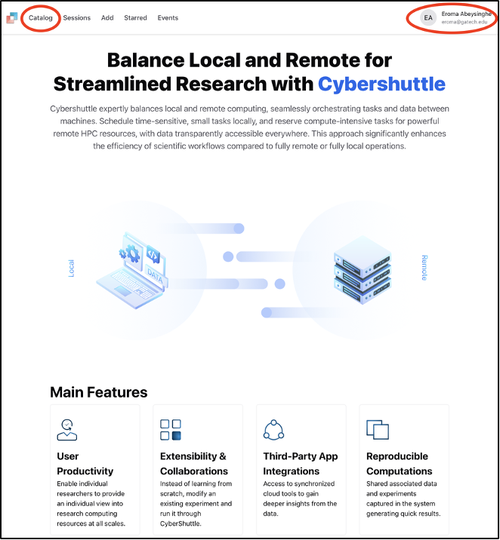
Once you have logged in through CILogon, you will be redirected to the Cybershuttle home page. Next, click the Catalog page link in the top left corner.
Note: After successfully logging in, you will see your name and email in the top right corner, along with additional menu items on the menu bar.
Step 5: Wait for Account Activation
After successful account creation, you will need to wait until you are enabled in Cybershuttle to execute available notebooks. When you are enabled, you will be notified via email from Cybershuttle noreply.cybershuttle@gmail.com with the title "Welcome to Cybershuttle".
Important: Please check your spam folder in case you don't find the email in your main inbox.
Locate & Execute Catalog Entries
Step 1: Access the Catalog
After receiving the notification email from Cybershuttle confirming your addition to a user group, navigate to the Catalog by selecting 'Notebooks' from the Plasma VLab menu.
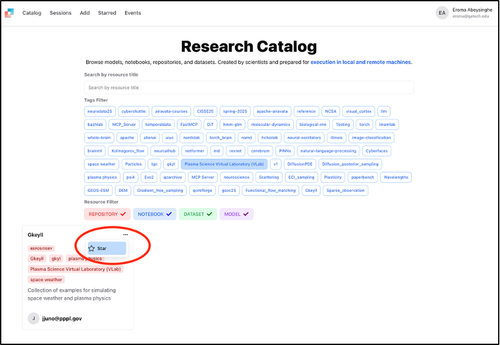
Step 2: Search for Projects
In the Catalog, you can search for projects by title or use the available tags to filter.
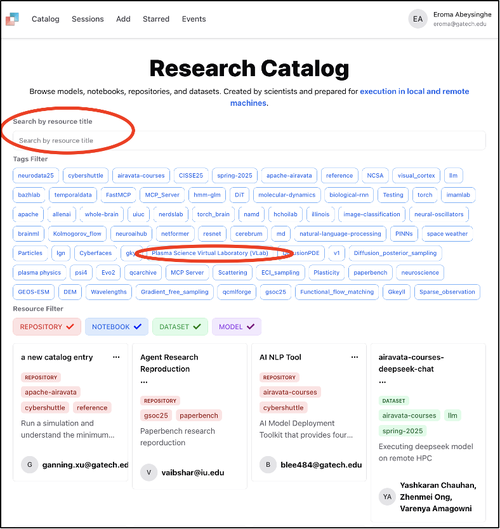
Step 3: Select Catalog Entry
Select the catalog entry to initiate a session to run a Jupyter Hub session.
![Catalog page showing available entries with tag filters]](/media/images/catalog_select.width-500.png)
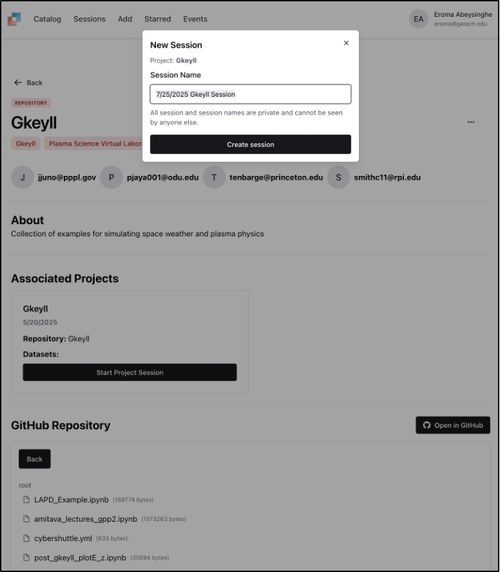
Step 4: Start Project Session
Click the Start Project Session button to start a dedicated session for executing the Jupyter Notebook. Use the default session name or define your own and click Create session.
Step 5: Login to Jupyter Hub
Click to login when prompted.

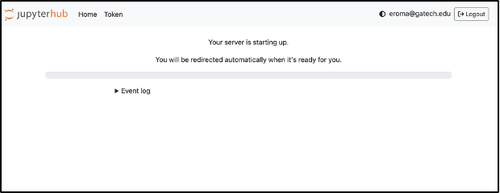
Step 6: Server Startup
Your dedicated Jupyter Hub server is starting up for you.
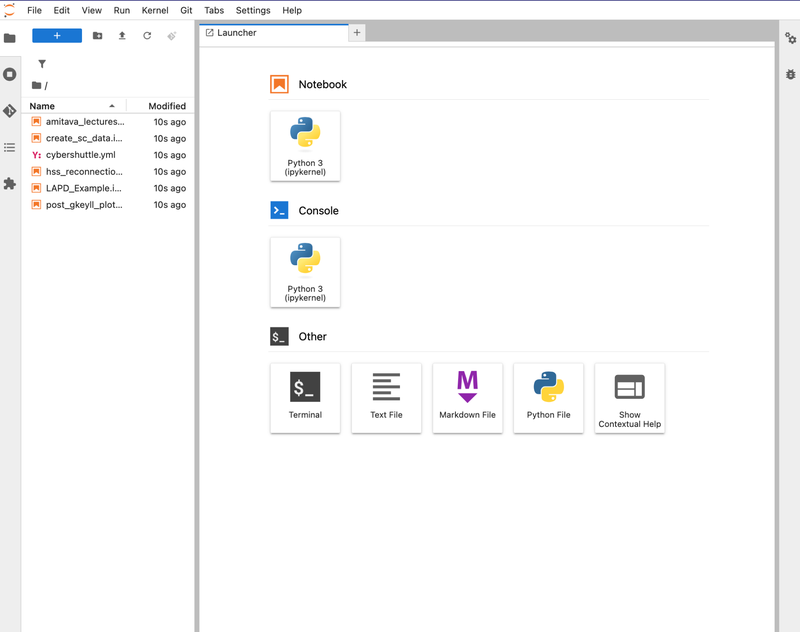
Step 7: Access Jupyter Hub Session
You now have access to your Jupyter Hub session with all the hosted files and configurations.
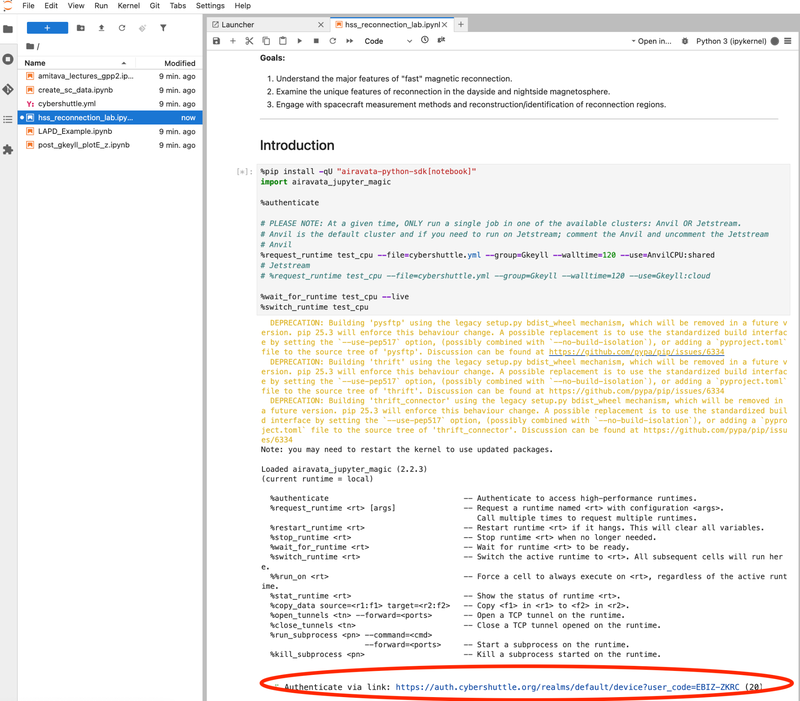
Step 8: Execute Notebooks
Open your Notebook (e.g.: LAPD_Example.ipynb), and run the first cell. Click the link provided to authenticate to execute on remote computing resources through the Cybershuttle Hub. Close the pop-up windows that open and continue executing the cells, one after the other.
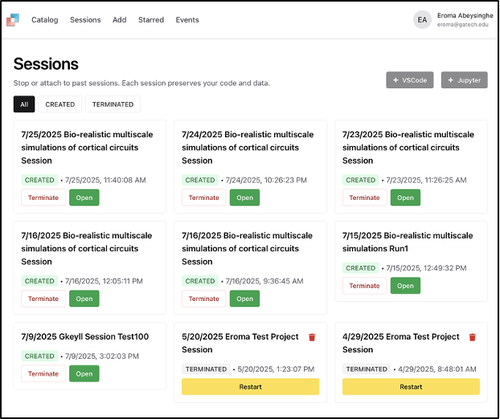
Step 9: Manage Sessions
Once you have started a session, you can add your own cells for analysis. These changes will remain in effect as long as the session is running. You can access your running sessions through https://cybershuttle.org/sessions.
Other Features
Starring Catalog Entries
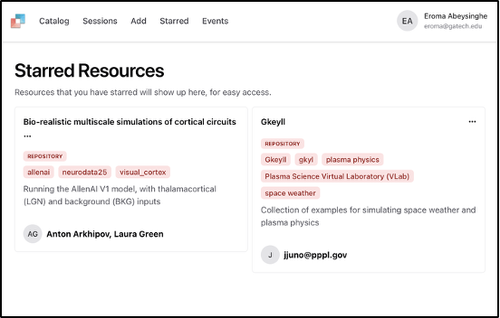
In the Cybershuttle catalog, you can 'star' your frequently used catalog entries. Click the three dots ··· and select the ⭐.
To access your starred entries, visit https://cybershuttle.org/resources/starred
CyberShuttle FAQ
Visit https://vlab.plasmascience.scigap.org/documentation/csFAQ-aug-2025/ for answers to commonly asked questions regarding CyberShuttle.
Events Page
The Cybershuttle https://cybershuttle.org/events page will show details of current, past, and future events.
Contact Us
For your quick inquiries, questions, and clarifications, please contact us through ARTISAN@groups.gatech.edu
To suggest new features, to report issues, etc please use https://github.com/cyber-shuttle/cybershuttle/issues
Notebook Usage Tips
- Each user has their own instance of the Notebook interface.
- Notebooks can be altered, and the results of each cell will be saved unless the user clears them.
- Once the cells are cleared and the kernel restarted, all previous run results will be gone.
- If you need to restart the kernel, first run the final cell in the notebook to terminate the current job (an allocation of the compute resources on the remote HPC system).
- If any plot results, etc, need to be saved, please copy them to the local machine/document.
- Closing the web browser tab/window:
- Will not clear the changes made to their notebook.
- Will not cancel the underlying allocation on the high performance computing system. Please run the last cell when you are done working with the notebook.
- After 60 minutes the allocation on the high performance computing system ends and the first cell will need to be executed again.
- To copy-paste from a Notebook cell use use shift+right_click to open the web-browser's menu instead of the Notebook menu.
- For more information on the Notebook interface please refer to https://docs.jupyter.org/en/latest/index.html